Mastering Light: A Comprehensive Guide to Photographic Light Meters
In the realm of photography, light is the fundamental element that shapes our images. Understanding and controlling light is paramount to capturing stunning photographs. This is where the photographic light meter comes into play. A photographic light meter is an indispensable tool for photographers of all levels, enabling them to accurately measure the intensity of light and determine the optimal camera settings for proper exposure. This guide will delve into the intricacies of photographic light meters, exploring their types, functions, and how to effectively use them to elevate your photographic skills.
What is a Photographic Light Meter?
A photographic light meter is a device used to measure the amount of light falling on a subject or reflecting from a scene. It provides photographers with crucial information needed to set the correct aperture, shutter speed, and ISO settings on their camera. By accurately measuring light, a photographic light meter helps photographers avoid overexposure (images that are too bright) or underexposure (images that are too dark), ensuring that the final photograph captures the intended details and tones. Light meters ensure accurate exposure, regardless of the scene’s complexity or the camera’s internal metering system.
Types of Photographic Light Meters
Several types of photographic light meters cater to different photographic needs and preferences. Understanding these types is essential for choosing the right meter for your specific requirements.
Incident Light Meters
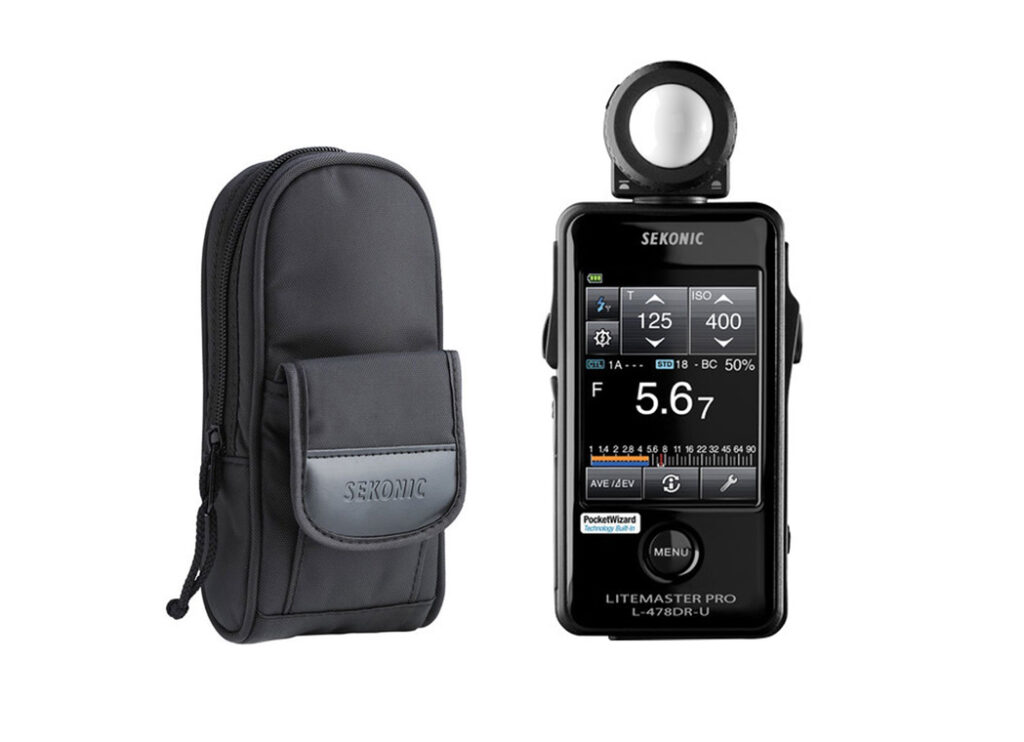
Incident light meters measure the amount of light falling *on* the subject. They typically feature a hemispherical diffuser (often called a dome) that collects light from all directions. To use an incident light meter, you position yourself near the subject, point the dome towards the camera, and take a reading. Incident light meters are particularly useful in situations where the subject’s reflectance is unknown or variable, such as in portrait photography or when shooting in mixed lighting conditions. They are excellent for determining the overall exposure of a scene and ensuring that the subject is properly lit.
Reflected Light Meters
Reflected light meters, on the other hand, measure the light *reflected* from the subject. These meters are commonly built into cameras and use a lens to focus the light onto a sensor. When using a reflected light meter, you point the meter towards the subject and take a reading. Reflected light meters are convenient for general photography and landscape photography, but they can be influenced by the subject’s reflectivity. For example, a dark subject will reflect less light and may cause the meter to underexpose the image, while a bright subject may cause overexposure. Understanding the limitations of reflected light meters is crucial for achieving accurate exposure.
Spot Meters
Spot meters are a specialized type of reflected light meter that measures the light from a very narrow angle, typically around 1 to 5 degrees. This allows photographers to take precise readings of specific areas within a scene, such as the highlights or shadows. Spot meters are invaluable for landscape photography, architectural photography, and any situation where precise control over exposure is required. They enable photographers to create high-dynamic-range images and ensure that important details are retained in both the bright and dark areas of the photograph. [See also: Understanding Exposure in Photography]
Color Meters
Color meters, also known as color temperature meters, measure the color temperature of light. Color temperature is measured in Kelvin (K) and indicates the relative warmth or coolness of a light source. Color meters are essential for photographers who want to ensure accurate color rendition in their images, particularly in situations where multiple light sources are present. They can be used to adjust white balance settings on the camera or to correct color casts in post-processing. Color meters are widely used in studio photography, film production, and any application where precise color control is critical.
How to Use a Photographic Light Meter
Using a photographic light meter effectively requires understanding its functionality and applying the correct techniques. Here’s a step-by-step guide to using both incident and reflected light meters:
Using an Incident Light Meter
- Position Yourself: Stand near the subject in the same lighting conditions.
- Point the Dome: Point the hemispherical dome of the meter towards the camera lens.
- Take a Reading: Press the metering button to take a light reading. The meter will display the recommended aperture and shutter speed combinations for proper exposure.
- Set Camera Settings: Adjust your camera’s aperture and shutter speed to match the meter’s recommendations. You may also need to adjust the ISO setting to achieve the desired exposure.
- Take the Shot: Capture your photograph, confident that you have achieved accurate exposure.
Using a Reflected Light Meter
- Point the Meter: Aim the meter towards the subject from the camera’s position.
- Take a Reading: Press the metering button to take a light reading. The meter will display the recommended aperture and shutter speed combinations for proper exposure.
- Consider Reflectance: Be aware of the subject’s reflectivity. If the subject is very dark or very bright, you may need to adjust the exposure compensation on the meter to avoid underexposure or overexposure.
- Set Camera Settings: Adjust your camera’s aperture and shutter speed to match the meter’s recommendations, taking into account any exposure compensation adjustments.
- Take the Shot: Capture your photograph, monitoring the results and making further adjustments as needed.
Advantages of Using a Photographic Light Meter
While modern cameras have built-in metering systems, using a dedicated photographic light meter offers several advantages:
- Accuracy: External light meters are often more accurate than built-in meters, especially in challenging lighting conditions.
- Consistency: They provide consistent and reliable readings, ensuring uniform exposure across multiple shots.
- Control: They offer greater control over exposure, allowing photographers to fine-tune settings for specific creative effects.
- Versatility: They can be used in a variety of situations, including studio photography, landscape photography, and film production.
- Learning Tool: Using a light meter helps photographers develop a deeper understanding of light and exposure, improving their overall photographic skills.
Factors to Consider When Choosing a Photographic Light Meter
Selecting the right photographic light meter depends on your specific needs and budget. Here are some factors to consider:
- Type of Meter: Choose between incident, reflected, spot, or color meters based on your primary photographic applications.
- Features: Look for features such as digital displays, memory functions, and compatibility with external accessories.
- Accuracy: Ensure the meter is accurate and reliable by reading reviews and comparing specifications.
- Ease of Use: Opt for a meter that is easy to use and understand, with intuitive controls and clear displays.
- Durability: Consider the meter’s build quality and durability, especially if you plan to use it in harsh environments.
- Budget: Set a budget and compare prices from different manufacturers to find the best value for your money.
Tips for Accurate Light Metering
To ensure accurate readings and achieve optimal exposure, keep these tips in mind:
- Calibrate Regularly: Periodically calibrate your photographic light meter to ensure its accuracy.
- Consider the Subject: Be aware of the subject’s reflectivity and adjust exposure compensation accordingly.
- Avoid Direct Sunlight: When using an incident light meter, avoid taking readings in direct sunlight, as this can skew the results.
- Take Multiple Readings: Take multiple readings from different areas of the scene to get a comprehensive understanding of the lighting conditions.
- Use a Gray Card: For reflected light metering, use a gray card to obtain a neutral reading and ensure accurate exposure. [See also: Gray Card Photography: Achieving Perfect Exposure]
- Understand Metering Modes: Familiarize yourself with your camera’s metering modes (e.g., evaluative, center-weighted, spot) and choose the appropriate mode for the situation.
- Practice: Practice using your photographic light meter in various lighting conditions to develop your skills and intuition.
The Future of Photographic Light Meters
As technology advances, photographic light meters are becoming more sophisticated and integrated with other photographic tools. Modern meters often feature wireless connectivity, allowing them to communicate with cameras and other devices. Some meters also incorporate advanced algorithms and sensors that provide more accurate and detailed light measurements. The future of photographic light meters is likely to involve further integration with digital workflows and the development of even more precise and user-friendly devices.
Conclusion
The photographic light meter remains an essential tool for photographers seeking to master the art of exposure. By understanding the different types of meters, learning how to use them effectively, and considering the factors that influence light measurement, photographers can achieve accurate and consistent results in a wide range of shooting situations. Whether you are a beginner or an experienced professional, investing in a quality photographic light meter can significantly enhance your photographic skills and help you capture stunning images that truly reflect your creative vision. Remember to practice regularly and experiment with different techniques to fully unlock the potential of your photographic light meter.

