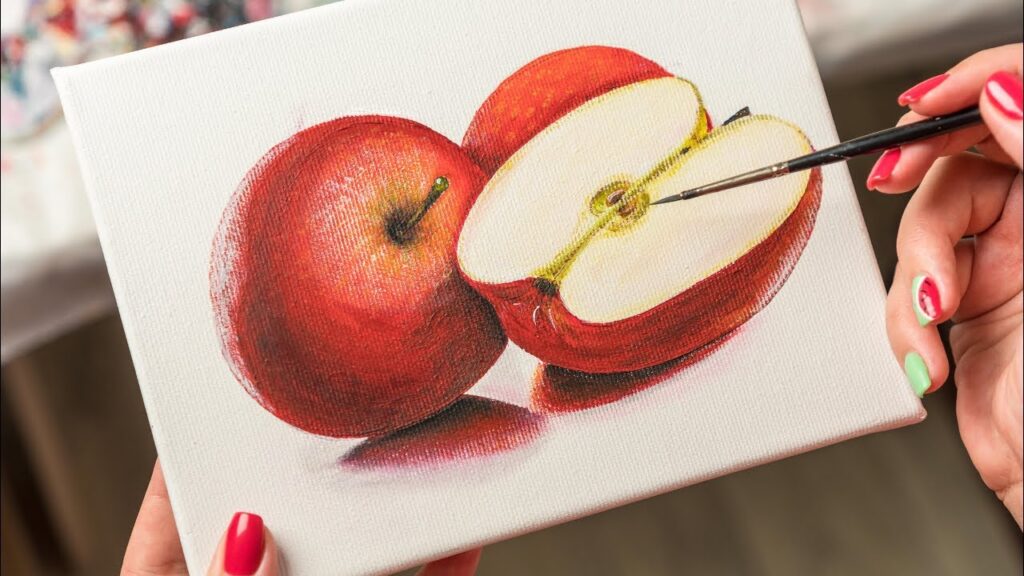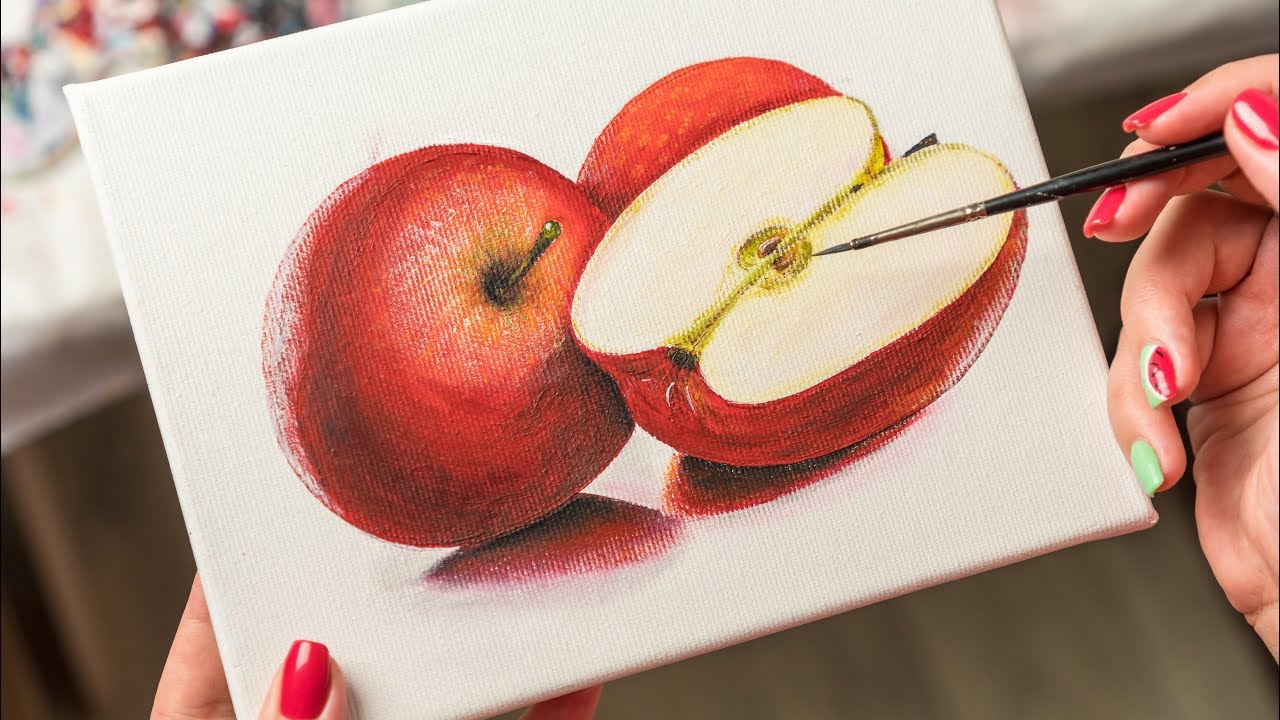
Painting Apples in Acrylics: A Comprehensive Guide for Beginners to Advanced Artists
Painting apples in acrylics offers a fantastic avenue for artists of all skill levels to explore color, form, and light. Acrylic paints are versatile, quick-drying, and relatively easy to work with, making them an ideal medium for still life paintings. Whether you’re just starting your artistic journey or looking to refine your techniques, this guide will provide you with a comprehensive understanding of how to create stunning apple paintings using acrylics.
Why Choose Acrylics for Painting Apples?
Acrylics possess several advantages that make them perfect for painting apples:
- Fast Drying Time: Acrylics dry quickly, allowing you to layer colors efficiently without long waiting periods.
- Versatility: They can be used on various surfaces, including canvas, paper, and wood.
- Opacity and Transparency: Acrylics can be used opaquely for solid coverage or thinned down for transparent glazes.
- Durability: Once dry, acrylic paintings are water-resistant and long-lasting.
- Easy Cleanup: Acrylics clean up easily with soap and water.
Essential Materials for Painting Apples in Acrylics
Before you begin, gather the following materials:
- Acrylic Paints: A basic set of colors including red (crimson, cadmium red), yellow (cadmium yellow light, yellow ochre), blue (ultramarine blue, cerulean blue), white (titanium white), and black (ivory black). Additional colors like green and orange can be helpful.
- Canvas or Painting Surface: A stretched canvas, canvas board, or acrylic paper. The size depends on your preference.
- Brushes: A variety of brushes in different sizes and shapes. Round brushes are excellent for details, while flat brushes are suitable for broader strokes and blending.
- Palette: A palette for mixing your paints. A disposable palette or a wet palette (to keep your paints moist) are good options.
- Water Container: For cleaning your brushes.
- Palette Knife: For mixing paints and creating texture.
- Paper Towels or Rags: For wiping brushes and cleaning up spills.
- Easel (Optional): To hold your canvas at a comfortable angle.
- Reference Photo: A high-quality photo of an apple you want to paint. Alternatively, you can use a real apple as your subject.
Step-by-Step Guide to Painting Apples in Acrylics
Step 1: Preparing Your Canvas
If using a canvas, ensure it is properly primed. Most pre-stretched canvases come pre-primed, but you can add an extra layer of gesso for a smoother surface. If using paper, choose acrylic paper designed to withstand wet media.
Step 2: Sketching the Apple
Lightly sketch the outline of the apple onto your canvas using a pencil. Pay attention to the shape, proportions, and any imperfections. Don’t press too hard, as you’ll want to erase the lines later. Focus on capturing the overall form and position of the apple on the canvas. Consider the composition – where does the apple sit in the frame, and how does it interact with the surrounding space? A well-placed apple can significantly enhance the painting’s impact.
Step 3: Underpainting
An underpainting is a thin layer of paint applied to the canvas before adding the main colors. It helps to establish the values (lights and darks) and create depth. For an apple, you can use a diluted wash of burnt umber or raw sienna. Apply it lightly, focusing on the areas that will be darker in the finished painting. This step is crucial for building up realistic tones and preventing the final painting from looking flat. [See also: Acrylic Painting Techniques for Beginners].
Step 4: Blocking in the Base Colors
Begin blocking in the base colors of the apple. Mix your reds, yellows, and greens, and apply them to the corresponding areas. Don’t worry about details at this stage; focus on covering the canvas with the general colors. Observe the subtle variations in color across the apple’s surface. Apples are rarely a single, uniform color. Notice the highlights, shadows, and areas where the color shifts due to reflected light. Accurately capturing these variations will add realism to your painting.
Step 5: Layering and Blending
Once the base colors are dry (or slightly tacky, depending on your preference), begin layering additional colors and blending them together. Use smaller brushes for more detailed work. Pay attention to the highlights and shadows, and gradually build up the form of the apple. Use glazing techniques (thin, transparent layers of paint) to create depth and luminosity. Blending is key to achieving smooth transitions between colors. Use a soft brush and gentle strokes to blend the edges of different color areas. Remember that painting apples in acrylics is an iterative process; it’s about building up layers and refining the details over time.
Step 6: Adding Highlights and Shadows
Highlights and shadows are essential for creating a sense of volume and realism. Use titanium white to add highlights to the areas where light is hitting the apple. Mix black or a dark blue with your base colors to create shadows. Pay attention to the direction of the light source and how it affects the appearance of the apple. Strong contrast between highlights and shadows will make the apple appear more three-dimensional. Observe how the light interacts with the apple’s surface – where are the brightest spots, and where are the deepest shadows? [See also: Understanding Light and Shadow in Painting].
Step 7: Refining Details
Once you’re satisfied with the overall form and color of the apple, begin refining the details. Add small imperfections, such as spots or blemishes, to make the apple look more realistic. Pay attention to the stem and the calyx (the small indentation at the bottom of the apple). Use a fine-tipped brush to add these details carefully. Remember that even small details can make a big difference in the overall impact of the painting. Look closely at your reference photo (or real apple) and try to capture the subtle nuances that make each apple unique.
Step 8: Final Touches and Varnishing
Step back from your painting and assess it critically. Make any final adjustments as needed. Once the painting is completely dry, you can apply a varnish to protect it and enhance the colors. Choose a varnish that is specifically designed for acrylic paintings. Follow the manufacturer’s instructions carefully. Varnishing will not only protect your painting from dust and UV damage but will also saturate the colors and give it a more polished look. Painting apples in acrylics requires patience and attention to detail, but the results can be incredibly rewarding.
Tips for Painting Realistic Apples
- Observe Carefully: Spend time observing your reference photo or real apple before you start painting. Pay attention to the colors, shapes, and details.
- Mix Your Colors Well: Don’t use colors straight from the tube. Mix them on your palette to create subtle variations.
- Use Thin Layers: Build up your painting in thin layers rather than applying thick blobs of paint.
- Don’t Be Afraid to Experiment: Try different techniques and approaches to find what works best for you.
- Practice Regularly: The more you paint, the better you’ll become.
Advanced Techniques for Painting Apples in Acrylics
Once you’ve mastered the basics, you can explore more advanced techniques:
- Glazing: Applying thin, transparent layers of paint to create depth and luminosity.
- Dry Brushing: Using a dry brush to create texture and highlights.
- Impasto: Applying thick layers of paint to create a textured surface.
- Scumbling: Applying broken color over another color to create a hazy effect.
Troubleshooting Common Problems When Painting Apples in Acrylics
- Problem: Acrylics are drying too fast. Solution: Use a wet palette, add a retarder medium to your paints, or spray your palette with water.
- Problem: Colors are muddy. Solution: Avoid overmixing your colors, clean your brushes frequently, and use a limited palette.
- Problem: Painting looks flat. Solution: Pay more attention to highlights and shadows, use layering techniques, and create a strong value contrast.
Conclusion
Painting apples in acrylics is a rewarding and accessible art form. By following these steps and practicing regularly, you can create stunning and realistic apple paintings. Remember to observe carefully, experiment with different techniques, and most importantly, have fun! The key to successful acrylic painting, especially when painting apples in acrylics, is practice and patience. Don’t be discouraged by initial challenges; each painting is a learning experience that will help you refine your skills. Embrace the versatility of acrylics and explore the many ways you can capture the beauty of this simple yet compelling subject. Painting apples in acrylics can be a stepping stone to more complex still life compositions, allowing you to develop your understanding of color, form, and light. So grab your brushes, paints, and an apple, and start creating your own masterpiece! Remember to always observe your subject carefully, pay attention to the details, and enjoy the process of bringing your artistic vision to life by painting apples in acrylics. [See also: Setting up a Still Life for Painting].

